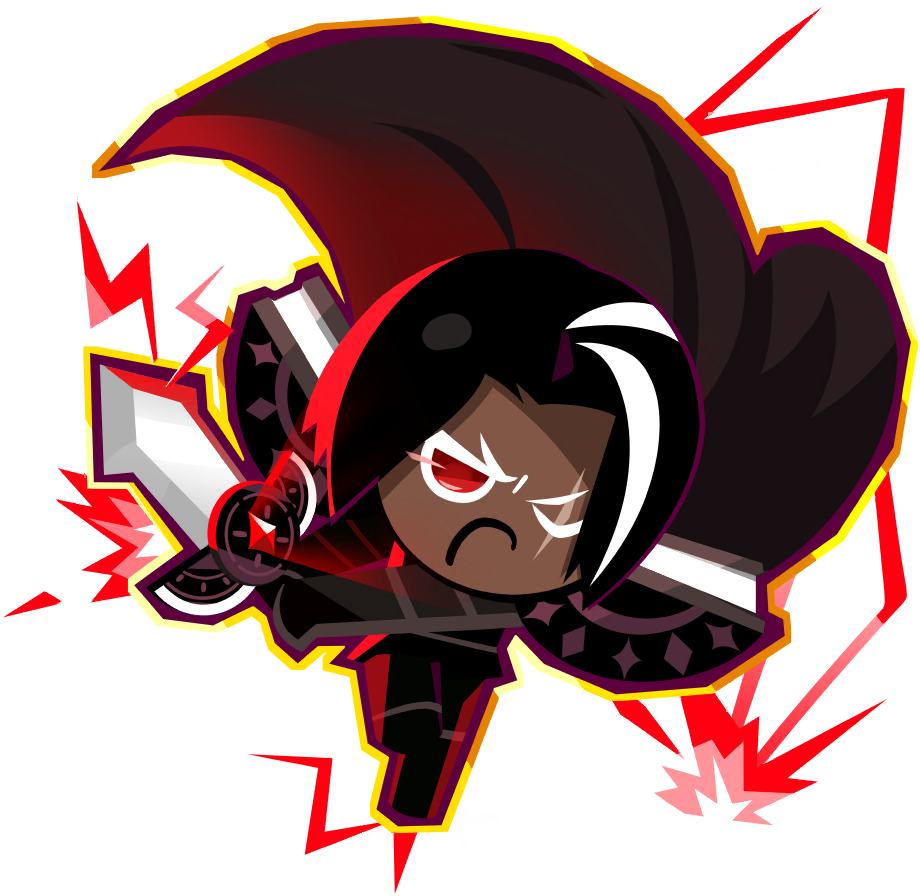
A Cherry Cola with perfect damage rolls still contributes very little after dying in the opening exchange. Meanwhile, an ordinary SR ATK roll can improve both Milk's healing and the buff your damage dealers receive. Before another reroll, check which part of the skill the stat improves.
For CookieRun: Crumble Sugar Runes, start with the skill you need that Cookie to deliver. Pure attackers want damage multipliers. Healers need stronger recovery. Debuffers often need another cast or enough health to survive until it happens. The class icon only tells part of that story.
Keep a useful SR before chasing a perfect SSR
A suitable SR roll is a sensible stopping point for a limited budget. Sugar Runes involve several layers of luck: the stat, its rarity, and three possible values within that rarity. Hunting the highest value of one exact SSR stat can consume materials that would improve several teammates.
Decide which stats you will accept before rolling. A damage dealer can use four strong options, so keep any useful result from that group. Save tighter locks for Cookies with narrow needs, such as a buffer that mainly wants Skill Amp.
Promotion unlocks more slots, but an unlocked slot does not need a perfect roll immediately. Use the tier list to shortlist regular investments, then prioritize the Cookies you actually field. A specialist used once a week can wait while your everyday healer gets a workable set.
Give damage dealers four good options
For Milky Way, Melon Soda, Brightseeker, Rye, Wind Archer, and Espresso, aim for ATK%, CRIT Chance, CRIT DMG, or Skill Amp. These Cookies mainly earn their slots through damage. Vampire can follow the same general approach when you use him as an attacker.
Skill Haste remains usable, but it usually trails those four options for pure damage. Many attackers already have short cooldowns, so extra casts may offer less than stronger hits. Do not reroll a good offensive SR simply because a theoretical ranking puts another damage stat slightly ahead.
Strawberry Crepe follows this damage approach despite the Defense label. Build for the AoE damage you brought Crepe to deliver. Innate bulk gives you more room to spend Rune slots on offense, although you should still watch survival on harder stages.
Scorpion deserves a little extra attention. Skill Amp and ATK% are strong targets; CRIT Chance, CRIT DMG, and Skill Haste are also usable. Keep a good offensive roll rather than burning currency to settle a tiny difference between damage options. Check team Focus separately if poison applications keep failing.
Healers need stronger recovery, not just shorter cooldowns
Herb, Grapevine, and Milk heal through ATK scaling, so start with Skill Amp and ATK%. Bigger heals matter when enemies deal damage in bursts. A slightly faster heal can still leave a Cookie in danger if it restores too little health.
Skill Haste is a reasonable fallback. It helps when you need more casts, but it should not automatically replace strong healing stats. Watch the actual failure: does the heal arrive too late, or does it land and barely move the health bar?
Milk has an extra reason to keep ATK%. The ATK buff scales with Milk's own ATK, so that Rune can help the whole damage group as well as recovery. Skill Amp and Skill Haste remain useful choices for the buffing and healing jobs.
If a healer dies before doing either job, keep a defensive result. Damage Reduction or Evasion can be practical temporary choices. Keep that working set while the rest of your lineup still needs useful rolls.
Read the buff before adding ATK
Macaron's CRIT Chance buff does not scale with Macaron's own ATK. Give Macaron Skill Amp and Skill Haste instead. Pomegranate also favors those two stats, with Skill Amp a strong first target.
Cheesecake's ATK buff needs the same careful reading. An ATK increase for the recipient does not mean that raising Cheesecake's personal ATK strengthens it. Skill Amp is the main target here. Tea Knight also wants Skill Amp when you bring him for the team's damage buff.
Pinot Noir is the exception that trips people up. Skill Amp does not improve Healing Received Down, but it does improve the Lift Resistance buff. That protection gives the stat a clear job against knock-ups.
Haste has less urgency on Pinot Noir. The anti-heal lasts five seconds on a 3.25-second cooldown, while Shadow Vine lasts ten seconds on a 9.5-second cooldown. Those timers already overlap. Unless a particular fight exposes a timing problem, favor Skill Amp instead of paying for more Haste.
Debuffers need uptime and survival
Skill Amp no longer strengthens stat reductions such as DEF Down and ATK Down. The Skill Amp changes guide explains the affected effects. A debuffer may still deal more damage with Skill Amp, but that does not improve the reduction you selected it for.
Devil benefits from Skill Haste and defensive stats. Dark Choco also likes Haste because faster casts help build DEF Down stacks. HP or other survival rolls are acceptable when keeping the debuffer alive matters more than personal damage.
Moon Rabbit's ATK Down and CRIT Chance Down do not become stronger with Skill Amp. Their five-second duration and seven-second cooldown make Skill Haste useful for reducing the gap. Add Damage Reduction, HP, DEF, or Evasion when incoming damage is the problem.
Focus and Accuracy can help, but check equipment first. Gear raises those stats across the squad, and it may already cover the stage's needs. Do not spend scarce personal Rune slots solving a problem the whole team shares. The Accuracy and Focus guide helps separate missed attacks from resisted debuffs.
Protect fragile Charge Cookies
Cherry Cola can deal plenty of damage without a full offensive Rune set. Staying alive is the harder part. Favor Damage Reduction, or mix it with damage if your formation already offers enough protection. HP and DEF are usable alternatives. A full damage build becomes expensive when you keep watching Cherry Cola disappear.
Princess Bari has more room for offense because Guided Soul gives damage protection and resistance to displacement. Try the normal damage stats when Bari survives comfortably. Keep defensive rolls if charging into the enemy still gets Bari killed. Her built-in protection is helpful, not a promise that every stage is safe.
Tiger Lily usually fills a synergy and support slot. Skill Haste plus Damage Reduction can help, but avoid heavy investment in a Cookie that dies quickly and mainly needs to provide the team's synergy.
Skating Queen has a different support job: improving CRIT DMG. Favor Skill Amp for that buff. Haste can produce more frequent ice casts, though it is a secondary choice rather than the reason to rebuild the set.
Compare your protection with the recommended teams before rerolling every melee Cookie. A missing healer or defensive teammate can make otherwise sensible Rune choices look terrible.
Build shields and summons around their scaling
Ion Cookie Robot needs to survive long enough to provide the shield. HP strengthens the shield, and Skill Amp can help its eligible shielding effect. Neither makes the separate Damage Reduction effect stronger. Keep enough defensive stats to survive the opening hit.
Nameless Cake Hound can use Skill Haste for a relatively long cooldown, offensive stats for damage, or defensive stats for survival. Do not select Skill Amp specifically to increase its Damage Reduction.
Licorice favors Skill Amp or ATK for summon output, with survival rolls also usable. Haste is a lower priority when the summons already remain alive and active. Cool Mint needs more caution: as a fragile Charge Cookie, prioritize survival, then consider ATK% for the summon setup.
For Space Doughnut in a crowd-control role, use Skill Haste and survival. Skill Amp does not make a stun stronger. More reliable casts offer a clearer benefit than chasing personal damage.
Check gear before spending another reroll
Equipment and personal Sugar Runes solve different problems. If several Cookies miss attacks or fail debuffs together, review the squad's Accuracy and Focus through gear. If only Cherry Cola dies, a personal survival adjustment makes more sense.
Use the same stage and lineup for a comparison. Watch the opening exchange, healing recovery, and whether important effects stay active. Keep Pets unchanged so you can tell what the Rune adjustment did. A larger Power number alone does not establish that the new set performs better.
Avoid targeting Move Speed or Resistance as default Rune rolls for these builds. They rarely address the jobs described here. Stop once your active Cookies have useful stats; squeezing one perfect result out of a finished attacker can leave several teammates waiting.
Sugar Rune FAQ
Should free players chase SSR Sugar Runes?
Useful SR rolls are enough to build a working set. Keep a suitable SSR when it appears, but do not spend the whole budget chasing one exact stat or the highest value within its rarity.
Is Skill Haste the best stat for every Cookie?
No. Pure damage dealers usually prefer ATK%, CRIT Chance, CRIT DMG, or Skill Amp. Haste becomes more useful when you need faster stacking, repeated control, or better coverage on effects such as Moon Rabbit's debuffs.
Should every support use ATK%?
No. Herb, Grapevine, and Milk benefit through ATK-based healing, and Milk's buff also scales with personal ATK. Macaron and Cheesecake do not strengthen their buffs by stacking their own ATK. Read the scaling line first.
Does Skill Amp improve every defensive effect?
No. Ion's shield can benefit, while the separate Damage Reduction effect does not. Nameless Cake Hound's Damage Reduction also does not scale with Skill Amp. Evaluate each effect separately before locking the stat.