Your Charge Cookies reach the enemy damage dealer, swing once, and disappear. The rest of your team follows them a few seconds later. Princess Bari Cookie helps with that opening, but putting her in the lineup does not make every dive safe.
For story, build enough survival to keep Bari working, then favor useful offensive rolls. For Arena, start with Damage Reduction and ATK Amp. Keep strong Skill Haste or Skill Amp rolls too. Her protective buffs do not scale with Skill Amp, but her damage still benefits from it.
Copying a strong roster can get expensive when you cannot tell what went wrong. Here is a complete story formation, the two Herb swaps worth trying, and a way to tell whether your next upgrade should help Bari survive or finish her target.
What Princess Bari actually fixes
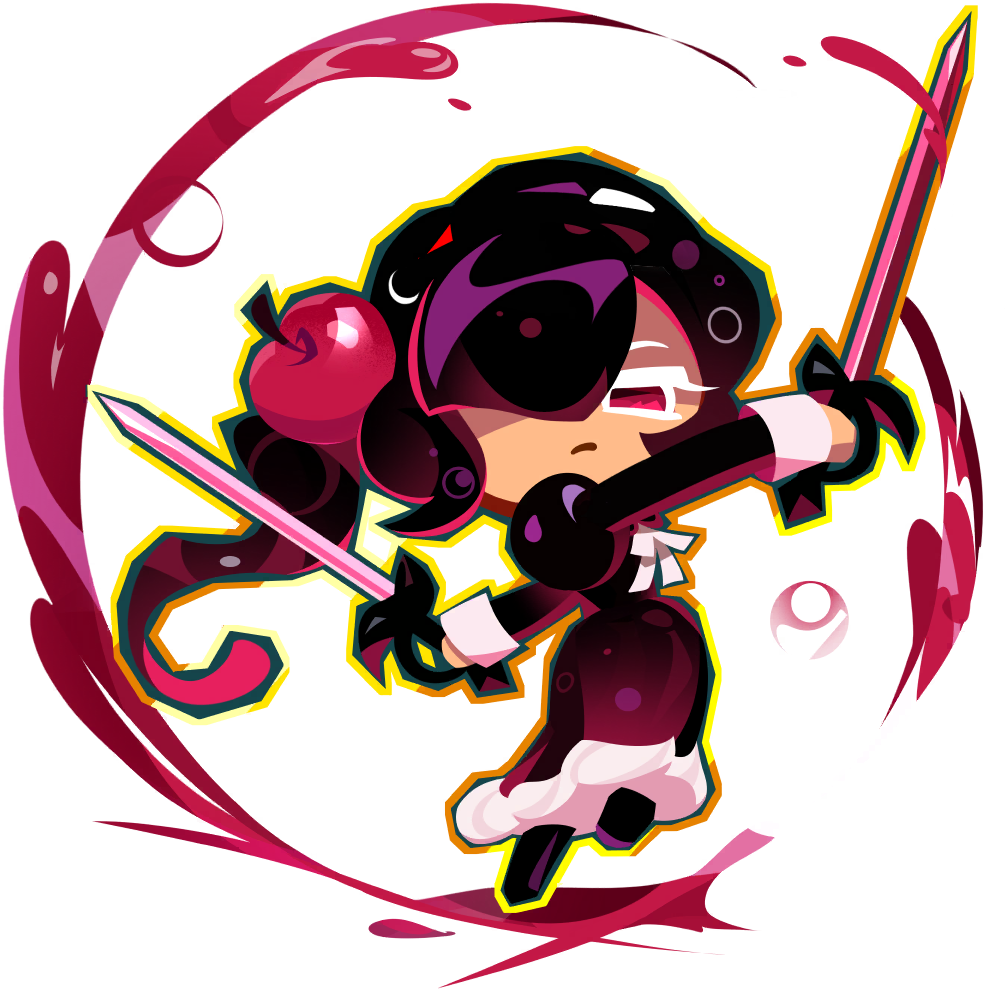
Princess Bari is a Fire Charge Cookie with TSSR rarity. She attacks with her branch weapon, provides Charge allies with damage reduction and immunity to knock-up and knockback, and rushes an enemy with high ATK to deal damage.
Those protections address a familiar problem. A Charge Cookie needs to reach a useful target and keep attacking. Getting lifted or pushed around wastes that opportunity. Bari helps the Charge group stay involved while reducing the punishment it takes.
Oven Wanderer Cookie makes sense beside her in Arena for that reason. Bari helps Wanderer keep attacking after the dive. That pairing does not mean Wanderer received another direct buff, or that every team should replace its current damage dealer with him.
She also works in story without a whole squad built around charging. Cherry Cola is a useful partner there, but Bari can contribute without Cherry Cola occupying another slot. Use the Cookie tier list to compare investment options across your roster before spending on a second attacker just to complete a pairing.
A complete Princess Bari story team
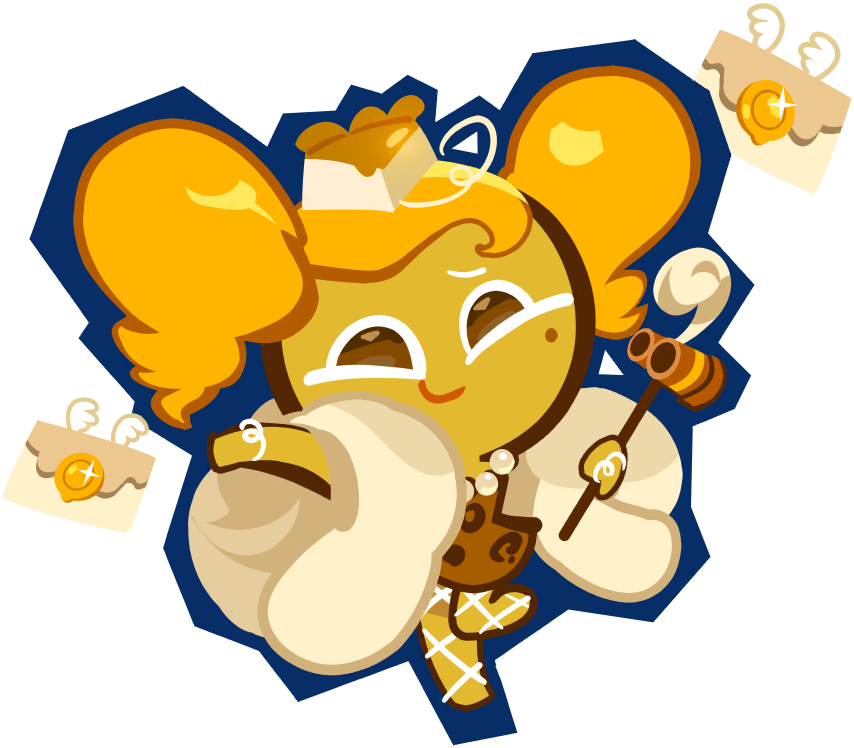
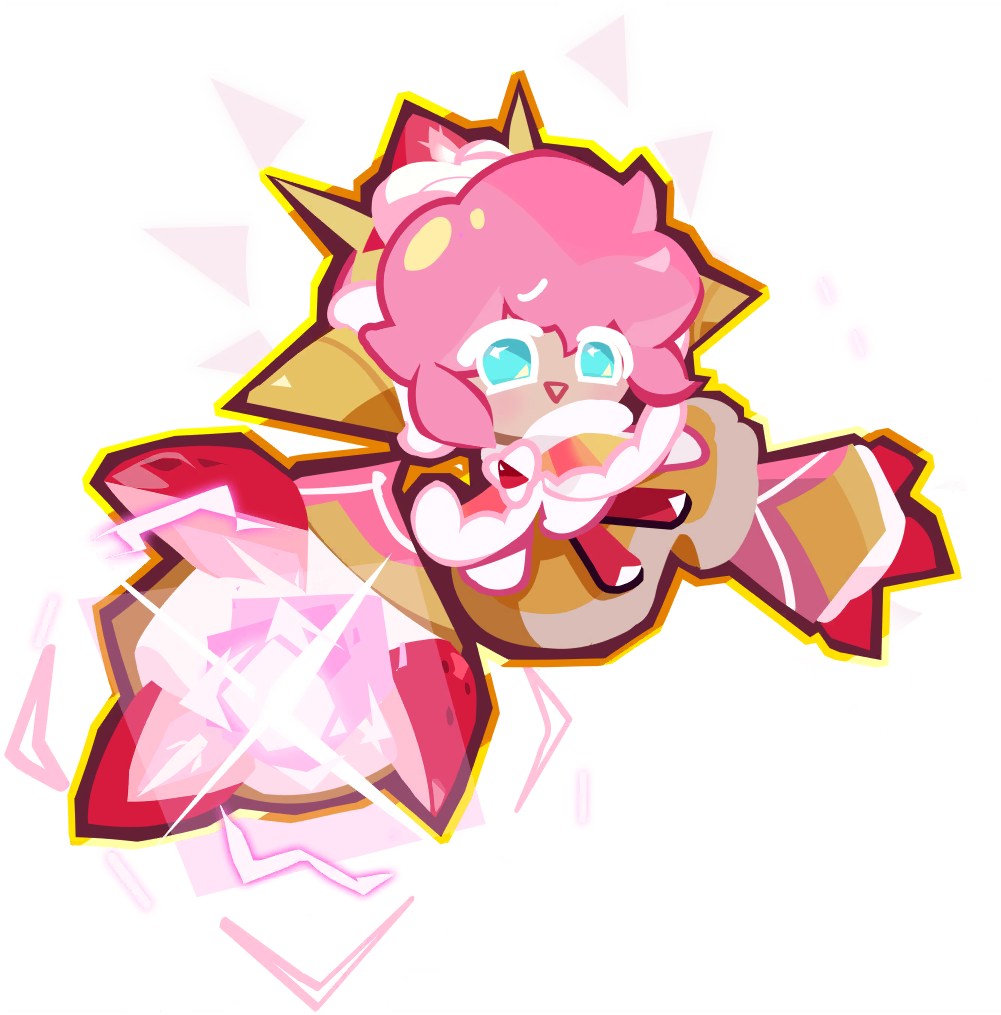
This preset uses 12 Cookies and three Pets. Read the first row from left to right, then the second row. The numbered portraits below follow that order.
Princess Bari story progression team
Twelve Cookies in row order, with Hot Doggie, Chargemellow, and Holy Baby Drop. Try Herb in place of Strawberry Crepe or Scorpion if allies keep dying.


 1
1

 2
2
 3
3

 4
4 5
5
 6
6 7
7
 8
8 9
9 10
10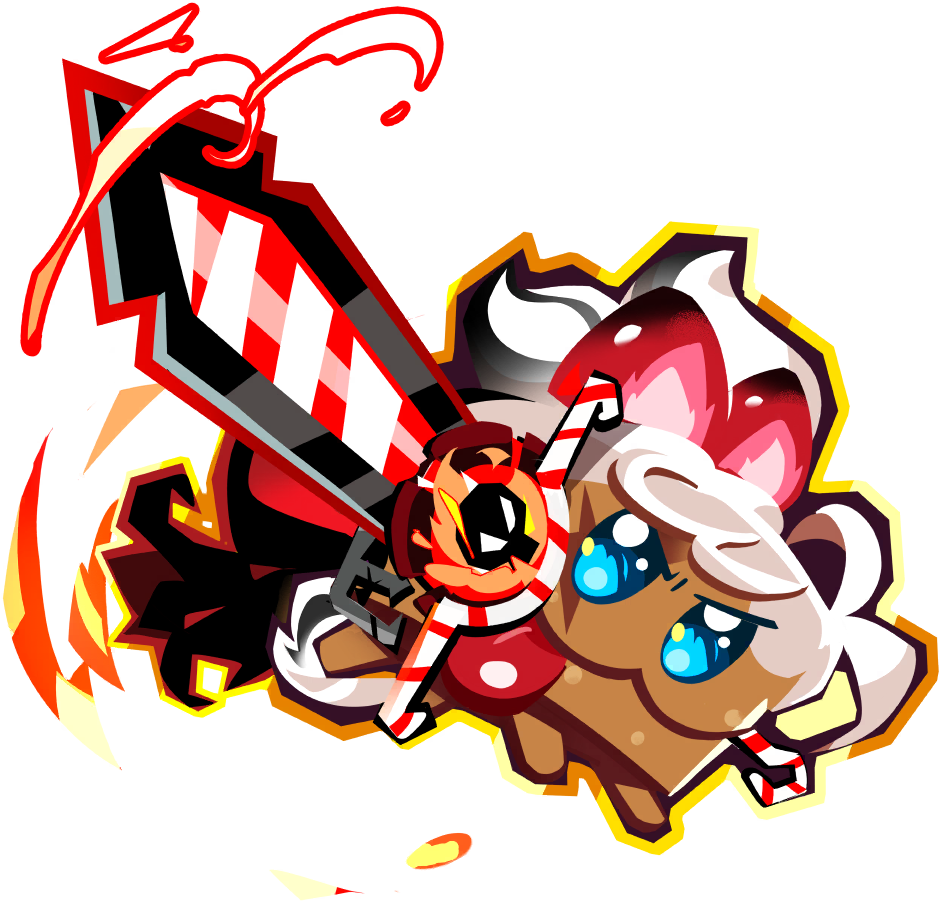 11
11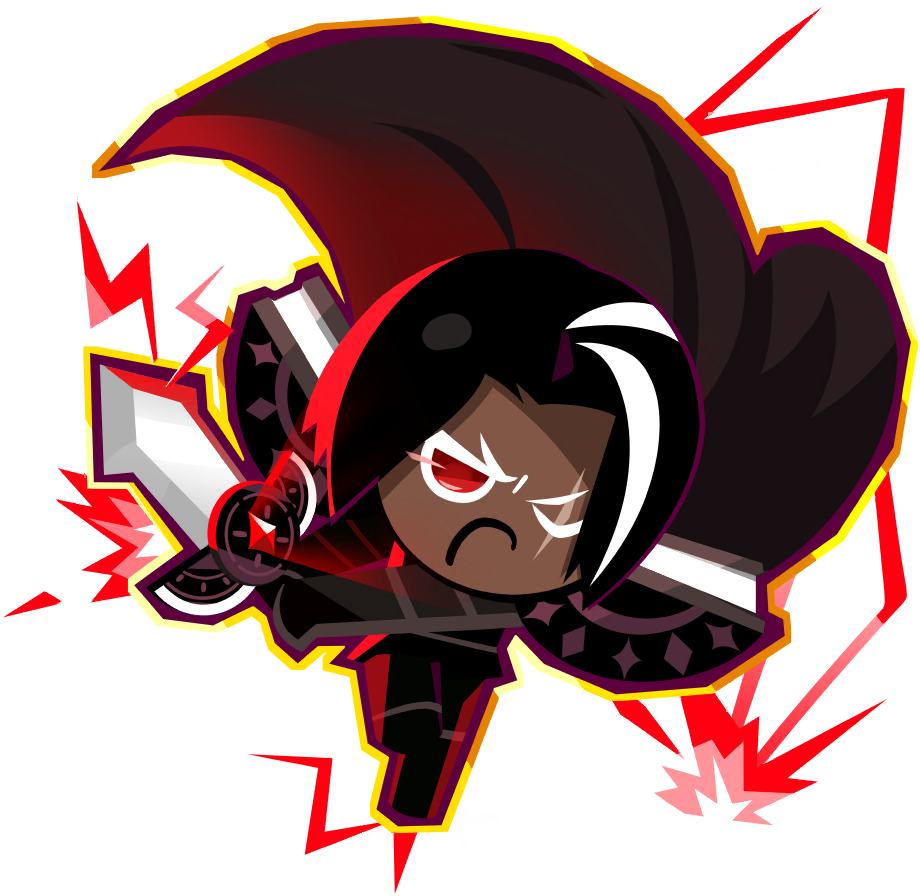 12
12




- First row: Macaron, Scorpion, Cheesecake, Skating Queen, Milk Cookie's Crunchy Strong Pediatrician, and Strawberry Crepe.
- Second row: Brightseeker, Pinot Noir, Pomegranate, Princess Bari, Nameless Cake Hound, and Dark Choco.
- Pets: Hot Doggie, Chargemellow, and Holy Baby Drop. All three Pets in this setup are level 20.
Scorpion occupies the red-haired slot in the first row. Cherry Cola is not part of this particular preset. If you want to try Cherry Cola alongside Bari, treat that as a separate change to this lineup.
The Pet choices support damage through Skill Amp, Multi-strike support, and ATK. Keep their levels in mind when comparing results with your own account. Matching three icons does not reproduce the same investment.
You can also find this formation on the Teams page. Start with its full lineup so you have a clear comparison, then change the slot that addresses your failed run. Replacing four Cookies at once makes it much harder to tell which swap helped.
When to bring Herb instead
This formation leaves out a dedicated Herb slot. It still includes Milk, so treating it as a team with no healing would give the wrong impression. A developed roster can get through many fights this way; a weaker account may lose Cookies before its damage gets going.
If that happens, try Herb in Strawberry Crepe's slot. This gives you a straightforward survival adjustment while retaining Scorpion. Run the same stage again and check whether the extra healing lets your damage dealers stay active long enough to finish.
The other option is Herb in Scorpion's slot. Choose between those swaps by looking at the fight. Scorpion's poison can supply useful extra damage against a single boss. Removing Scorpion when the boss already survives with a sliver of health may solve one problem and create another.
Neither substitution is a promise that a low-Power team can copy a developed roster's results. Story progression still asks you to raise account strength. Use the preset while you continue those upgrades.
Also keep the easier story difficulty in perspective. Faster clears after adding Bari can reflect both her contribution and reduced stage difficulty. A smoother run is welcome. It does not prove that one Cookie caused the entire improvement.
Sugar Runes: separate story from Arena
For story, watch Bari's health before spending on more defensive rolls. If she consistently lives through the fight, piling on Damage Reduction may leave the actual problem untouched. You might need more damage, or a different targeting pattern, rather than a sturdier Bari.
Strong rolls in ATK Amp, Skill Amp, or Skill Haste are reasonable to keep. There is no need to discard a useful Rune because it misses one supposedly perfect combination. Your promotion level and existing rolls can change which stat helps most on the stage that has you stuck.
Arena changes the survival question. An enemy ranged lineup can deliver enough burst to kill your Charge Cookies as they arrive. Damage Reduction plus ATK Amp is a sensible starting priority here: help Bari survive the opening and hurt the target she reaches.
Do not turn that priority into a fixed number of defensive lines for every account. If she already survives but cannot help finish the enemy attacker, more defense may not improve the result. If she vanishes immediately, another damage roll will not keep her alive.
The Skill Amp wording needs particular care. The exclusion applies to the protective buffs; it does not switch off Skill Amp for Bari's damage. A high Skill Amp roll can still be useful. You simply should not expect it to strengthen those buffs as well.
For a wider spending order across the roster, the Sugar Rune investment guide helps you decide whether Bari should receive the next upgrade at all. Keep a serviceable set while you work on the Cookie actually holding back your team.
Why a Bari Arena team can still collapse
Bari and Oven Wanderer can put pressure on a high-ATK enemy, but reaching that enemy is only the first part of the job. The attacking group has to survive and kill something useful. When it fails to secure that kill, the rest of the formation can fall apart quickly.
This is especially painful against opponents with stronger stats or higher promotion. Your Charge group commits to the enemy formation, fails to remove the damage dealer, and dies in place. From there, the surviving ranged attackers can tear through the Cookies left behind.
A team without Bari can therefore beat one that uses her. Heavy ranged burst offers a clear example: it can punish the entry before Bari's side gets its first kill. Her presence alone tells you very little about who wins the matchup.
After a loss, follow the opening rather than staring only at the final damage totals:
- Find the enemy Bari actually approached.
- Check whether your Charge Cookies died on arrival or stayed alive without finishing that target.
- Look at what happened to your other damage dealers while the fight moved around them.
That gives you a useful next change. Early deaths point toward survival or an unfavorable opponent. A living dive group with no kill points toward damage, target durability, or a stat gap. If the Power numbers seem misleading, check the Arena Power gap guide before investing more resources on the strength of that number alone.
Spend after checking one failed fight
Bari improves with promotion, but there is no universal star count here that suddenly makes every matchup work. Compare what an upgrade can solve with what the fight shows. More stats will not necessarily fix a targeting pattern that sends damage away from the enemy you need to remove.
For a story test, keep the stage and other slots consistent. Watch one attempt with the current preset. If allies die, try one Herb swap. If everybody lives and the boss survives, retain the damage slots and review offensive investment. If the fight scatters awkwardly around Bari's target, try another Cookie in her slot before rerolling an entire Rune set.
For Arena, compare opponents with similar formations when you can. One win against a softer ranged team does not settle a build. An opponent with much higher promotion can also overwhelm a workable setup. Look for repeated early deaths or missed kills, then spend on the problem you keep seeing.
If the same team now survives its opening and finishes the target, keep the working Runes. You can leave the next reroll for a Cookie that still needs it.
Princess Bari build FAQ
Does Princess Bari need Cherry Cola?
No. They can work together in story, but the 12-Cookie preset here uses Bari without Cherry Cola. Try the complete formation first, then judge swaps by survival, damage, and targeting in your own fights.
Is Skill Amp wasted on Princess Bari?
No. Skill Amp affects her damage, even though it does not scale the protective buffs covered by the skill's exclusion. Keep a strong roll if it improves your available set; do not expect stronger protection from it.
Who should Herb replace in this story team?
Try Strawberry Crepe or Scorpion. Keep Scorpion when poison helps you finish a single boss. If survival is the main problem, compare the two swaps on the same stage before deciding which damage slot to give up.
Does Bari make a Charge team safe against ranged burst?
No. A strong ranged team can still kill the Charge group on entry. Damage Reduction helps with survival, but promotion gaps, enemy damage, and whether your team finishes its first target still matter.