
Cherry Cola dying during an Arena dive can make the Cookie look like a wasted investment. Story stages give that same attacker a much better job. Pair Cherry Cola with Pinot Noir, keep the support core intact, and fix the survival Runes before judging the damage. This setup aims to clear ordinary stages on auto without making you steer every fight.
Start Cherry Cola with two Damage Reduction lines, then favor Skill Amp for the remaining Rune choices. A little protection keeps the Cookie attacking. Stacking damage while the attacker falls over early gets you another retry screen.
This is a developed roster, so copying the twelve names does not promise identical progress. It does give you a specific team to test, clear substitutions when it fails, and a reason to leave some tempting damage upgrades alone.
Copy the full story team first
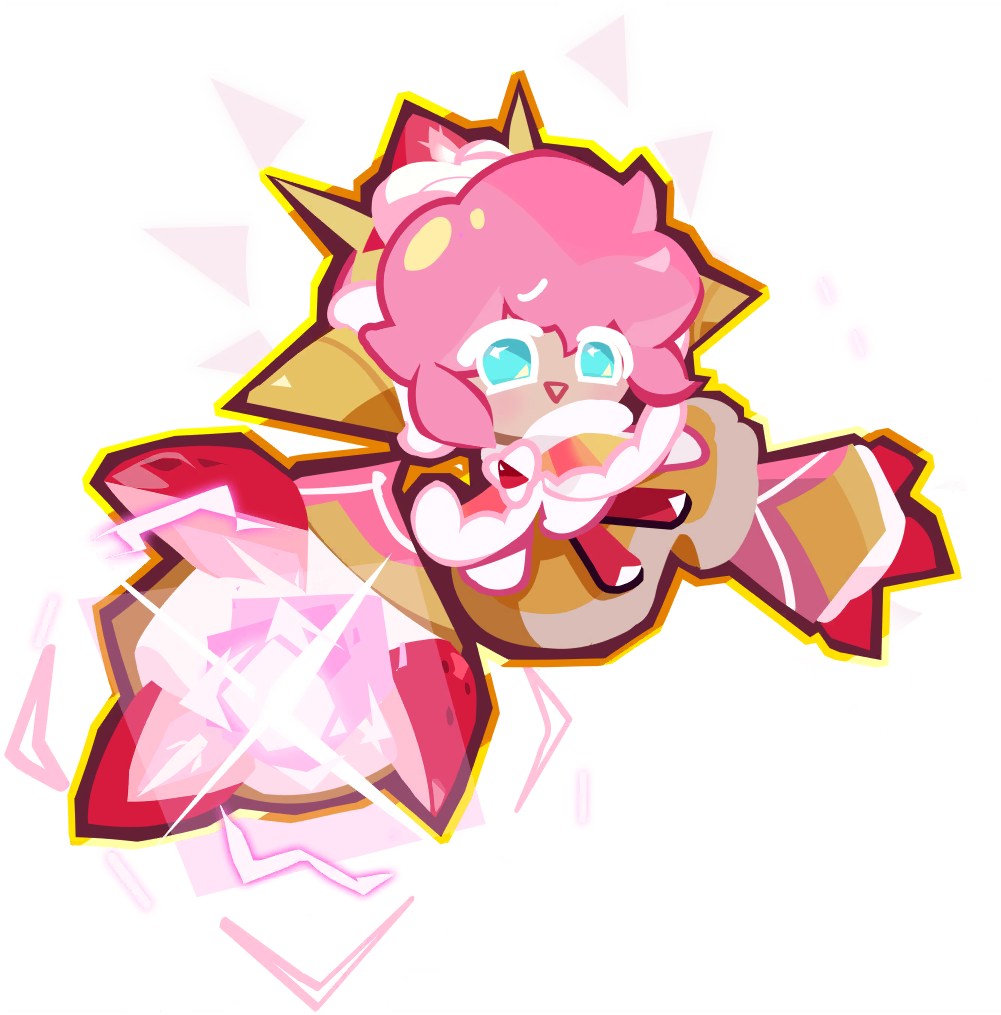
Use the following formation as the starting preset. The order follows the two rows of the lineup, left to right. The upper row contains Macaron Cookie, Rye Cookie, Pomegranate Cookie, Milk Cookie's Crunchy Strong Pediatrician, Strawberry Crepe Cookie, and Herb Cookie.
The lower row contains Brightseeker Cookie, Pinot Noir Cookie, Skating Queen Cookie, Nameless Cake Hound, Cherry Cola Cookie, and Dark Choco Cookie. Milk carries the captain marker in this setup. Keep that choice when checking how the team's ATK-based effects behave.
Cherry Cola auto story team
Copy the two rows in order. Keep Milk as captain and use Chargemellow, Hot Doggie, and Holy Baby Drop as the starting Pet setup.


 1
1

 2
2
 3
3
 4
4
 5
5 6
6 7
7 8
8

 9
9 10
10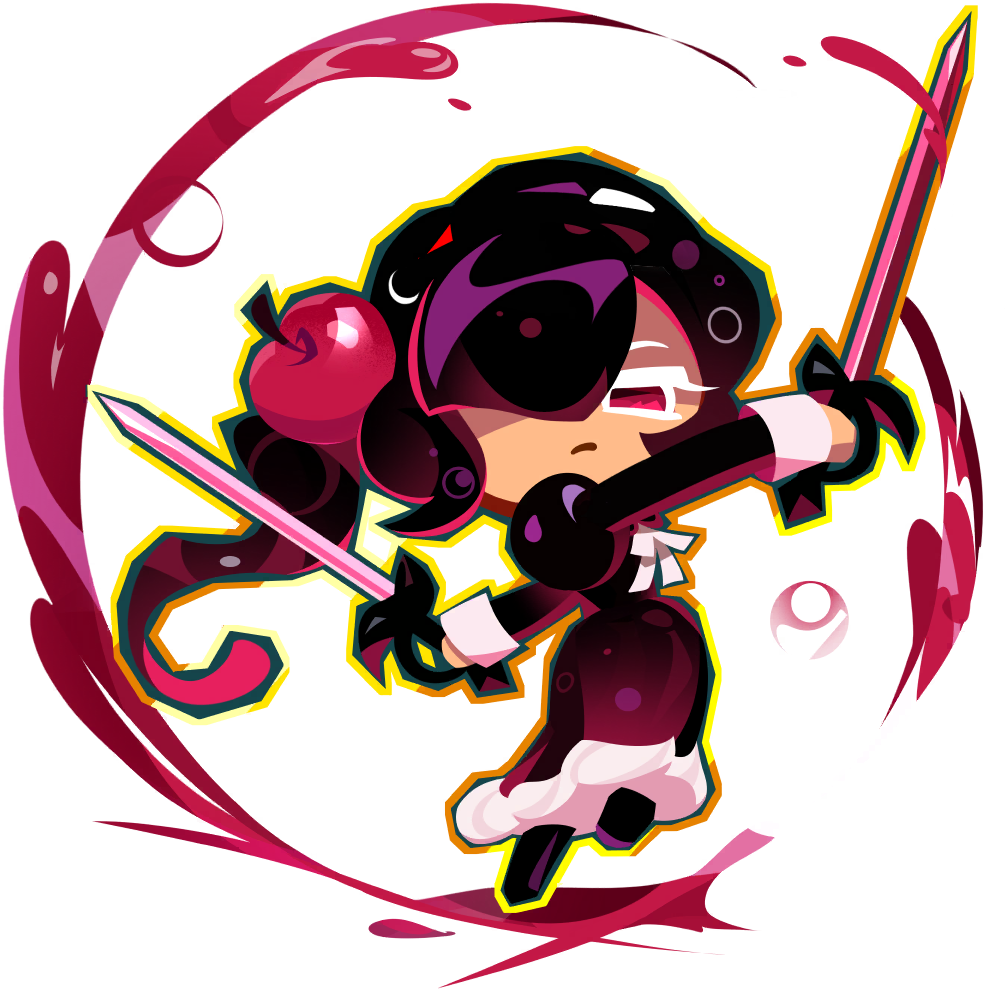 11
11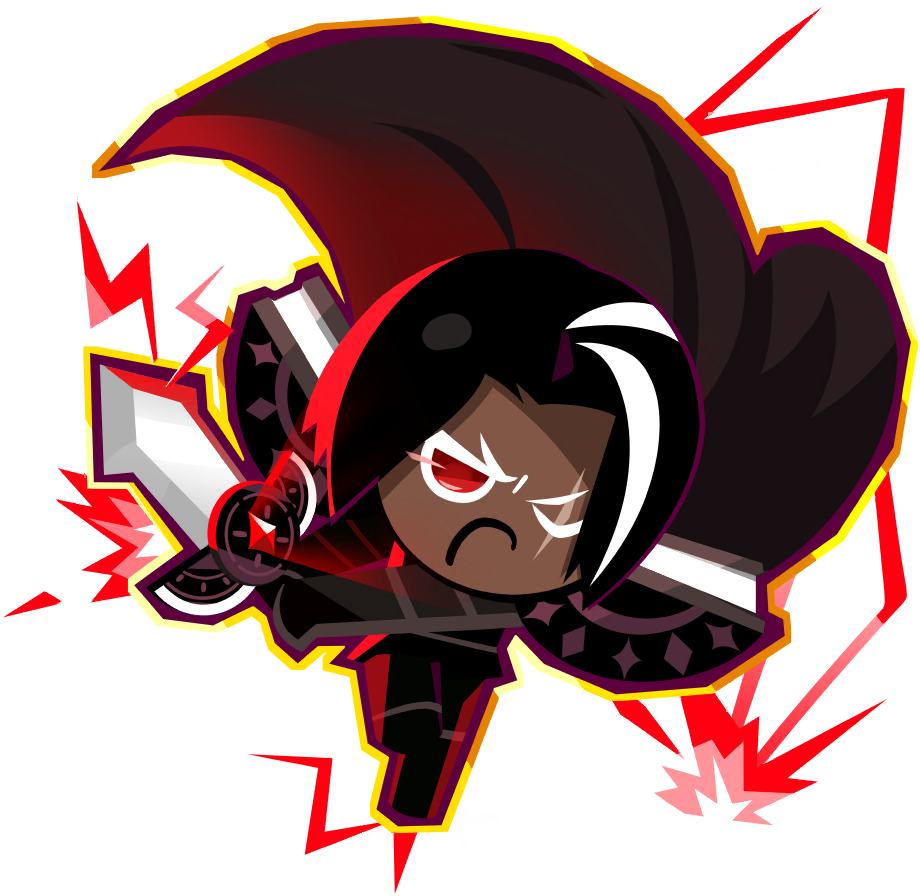 12
12




The three Pets are Chargemellow, Hot Doggie, and Holy Baby Drop, in that order. Chargemellow supports Multi-strike receivers, Hot Doggie adds Skill Amp, and Holy Baby Drop raises team ATK. Copy the Pet slots as well as the Cookies before deciding that the formation does not work.
You can also find this preset on the recommended teams page. Keep a saved copy before experimenting. Returning to a known lineup is much easier than remembering which of five swaps broke the run.
Give Cherry Cola enough time to deal damage
Two Damage Reduction Rune lines are the recommended starting point because Cherry Cola dies easily. Favor Skill Amp with the remaining choices. The purpose is to keep the attacker alive through the dangerous opening while retaining enough damage to move through the stage.
ATK Amp is still usable. A good roll does not need to go straight into the bin. The concern is piling on so much ATK that Cherry Cola starts taking effects intended for Milk, especially after further promotions raise Cherry Cola's stats.
Milk's ATK build and captain effects help determine who receives benefits aimed at the highest-ATK ally. If Milk has unfinished ATK Runes, an aggressively built Cherry Cola can overtake that position. A stronger-looking attacker can therefore disturb the support setup you were relying on.
Check the relevant ATK order after promotions or major Rune changes. Keep useful ATK rolls when they fit, but do not chase an all-ATK Cherry Cola build by habit. Once survival improves, compare actual stage clears before spending more on small damage gains.
Keep the support buffs on the intended Cookies
Macaron uses extra ATK Amp here to compete for Pomegranate's buff targeting. That is a deliberate setup choice, so a high ATK number on a support Cookie is not automatically a mistake. Watch the intended recipients when you change equipment elsewhere in the team.
Build Pomegranate mainly around Skill Amp. One Skill Haste line can fit; every slot does not have to match. Milk leans heavily toward ATK Amp, with room for a Skill Amp or Skill Haste line. The important part is maintaining the ATK order that the formation needs.
Strawberry Crepe favors Skill Amp over a heavy Skill Haste build. Herb benefits from some Damage Reduction because losing a healer early hurts the whole attempt. Skill Amp and Skill Haste remain useful options around that survival choice.
For Dark Choco, mix Skill Haste and Focus rather than forcing every line into one stat. A Damage Reduction line is also a sensible choice for this setup. Rye can carry some ATK Amp, but this setup does not prescribe every Rune slot on every Cookie.
Nameless Cake Hound's cluster of CRIT DMG rolls came from the rolls available, not a recommendation to chase that stat. Copy the formation's purpose without assuming every incidental Rune is essential. For the wider relationship between these stats, use the gear and Sugar Rune guide.
Use Rye when you want to leave auto running
Melon Soda can take Rye's place. The tradeoff is how much attention you want to give the fight. Melon Soda can deliver strong damage when you bring the Cookie close to a boss, where more of the missiles reach the target.
At longer range, that spread can waste hits. A large number of attacks looks encouraging until too many of them miss the enemy you need to kill. Manual positioning makes Melon Soda easier to use well, but repeated adjustments defeat the purpose if you want a quiet stretch of automatic clears.
Rye has fewer hits and tends to land them more consistently at a distance in this setup. That makes Rye the more comfortable default for unattended progression. Choose Melon Soda when you are willing to move close and manage the fight; keep Rye when you want fewer interruptions.
Scorpion is another tempting addition, but the tested variation worked better without forcing Scorpion into this particular formation. That does not erase Scorpion's uses elsewhere. It means this preset should get a fair run as a focused Cherry Cola and Pinot Noir team before you blend it with another damage plan.
Change protection before replacing the whole team
When a hard-hitting stage keeps killing Cookies, try replacing Chargemellow with Icy Birdie for incoming damage reduction. You give up Multi-strike support to buy survival, so watch whether the extra time compensates for the lost offense. Keep the original Pet preset for stages where it still clears comfortably.
If you own Majestic King Choco Drop and need more protection, consider replacing Holy Baby Drop's team ATK benefit with that Pet's HP support. This is an optional defensive adjustment, not a requirement to obtain another premium Pet before trying the team.
Strawberry Crepe's slot is the Cookie swap to examine when the team still collapses. Ion Cookie Robot can provide a more defensive alternative. Change one slot, run the same problem stage again, and check whether the team survives long enough to finish.
Knock-ups need a more specific answer. Against hammer-style attacks that repeatedly throw the team into the air, try Panda Dumpling for Lift Resistance in a Pet slot. Diagnose the interruption before cutting another attacker. A team that spends the fight airborne loses opportunities to heal as well as to deal damage.
Rescue a stuck boss with one positioning change
Auto can stall against Cool Mint when smaller enemies pull attention away and spread the team's damage. The formation may have enough damage overall while failing to concentrate it on the boss. Another expensive Rune roll is a poor first response to that problem.
Try moving the team close to the boss manually. If that does not settle the fight, pull the group toward the lower-left corner, roughly the seven o'clock position. Gathering the fight there can help with the scattered targeting that stopped the automatic attempt.
Treat this as a recovery tactic for a stubborn stage. Once it clears, return to auto and see how far the team progresses before the next interruption. You do not need to turn every ordinary stage into a manual fight just because one boss needed help.
Judge story progress separately from Arena
Cherry Cola's S-tier placement reflects the strong story performance of a properly supported build. The current tier list compares the full roster; this formation explains the survival choices behind the recommendation.
The earlier Arena attempts exposed weak survival and unfinished Rune work. Further investment may improve that matchup, but successful story clears do not prove that Cherry Cola now kills every enemy Milk. Test that claim in Arena before changing an established PvP team.
Brightseeker does not need five stars just to try this story preset. Promotion still affects performance, but five stars is not an entry requirement. Start with what your account has, protect Cherry Cola and the healers, then use the failed stage to decide the next adjustment.
Cherry Cola auto team FAQ
Which Sugar Runes should Cherry Cola use for story stages?
Start with two Damage Reduction lines and favor Skill Amp for the remaining choices. Some ATK Amp is usable, but check that Cherry Cola does not take highest-ATK benefits intended for Milk.
Can Melon Soda replace Rye in this team?
Yes. Melon Soda works better when you move close enough for the missiles to connect. Rye is the more comfortable default when you want to leave ordinary story stages on auto.
What should I change if the team dies too quickly?
Try Icy Birdie instead of Chargemellow for damage reduction. If necessary, consider Majestic King Choco Drop instead of Holy Baby Drop, or Ion Cookie Robot instead of Strawberry Crepe. Test each change separately.
Does Brightseeker need five stars for this formation?
No. Five stars is not required to try the formation. Your promotions, Runes, and overall stats still affect how far the team can progress.

