A team clears several stages without trouble, then spends the next fight airborne. You add defense, reach another boss, and suddenly cannot deal enough damage. Rebuilding all twelve slots after every loss gets old fast.
Keep three saved story presets: a Princess Bari and Cherry Cola team for routine progression, an anti-knock-up team, and a GingerCraven team that keeps Power in mind. Redberry needs a separate adjustment because chasing that enemy can make the fight worse.
These are developed rosters. Copying the portraits will not copy the promotion and equipment behind them. If your Cookies have lower promotion or weaker equipment, use the survival adjustments below before judging the entire team. Finishing story opens access to the Dimensional Rift, so a reliable clear matters more than squeezing out a prettier damage chart.
Choose the preset from the failed fight
Start with the Bari and Cherry Cola lineup for ordinary stages. Keep it while the team survives and finishes its targets. You do not need a specialized answer to every boss name.
Switch to the anti-knock-up setup when repeated lifts interrupt the formation. Hammer attacks and Cool Mint fights are the obvious cases. A support who cannot finish casting is not doing much supporting, however good the Rune page looks.
For GingerCraven, check whether your problem is incoming damage or damage that barely moves the boss's health bar. The third preset includes Wind Archer to help raise Power on an account where that slot offers a useful increase. You can use Cherry Cola in that slot if she works better on your account.
All three complete lineups also appear on the Teams page. Save them separately so you can return to a working setup after a failed experiment. Keep the Cookie and Pet order when you copy them; the numbered portraits make comparisons easier.
The everyday Bari and Cherry Cola team
Use this as the default preset while moving through story. Bari and Cherry Cola share the lineup, with Scorpion for boss pressure and the familiar support group around them. Nameless Cake Hound does not occupy a slot in this version.
Bari and Cherry Cola Story Team
Default progression preset. Swap Strawberry Crepe for Ion or Herb when survival fails.


 1
1

 2
2
 3
3

 4
4 5
5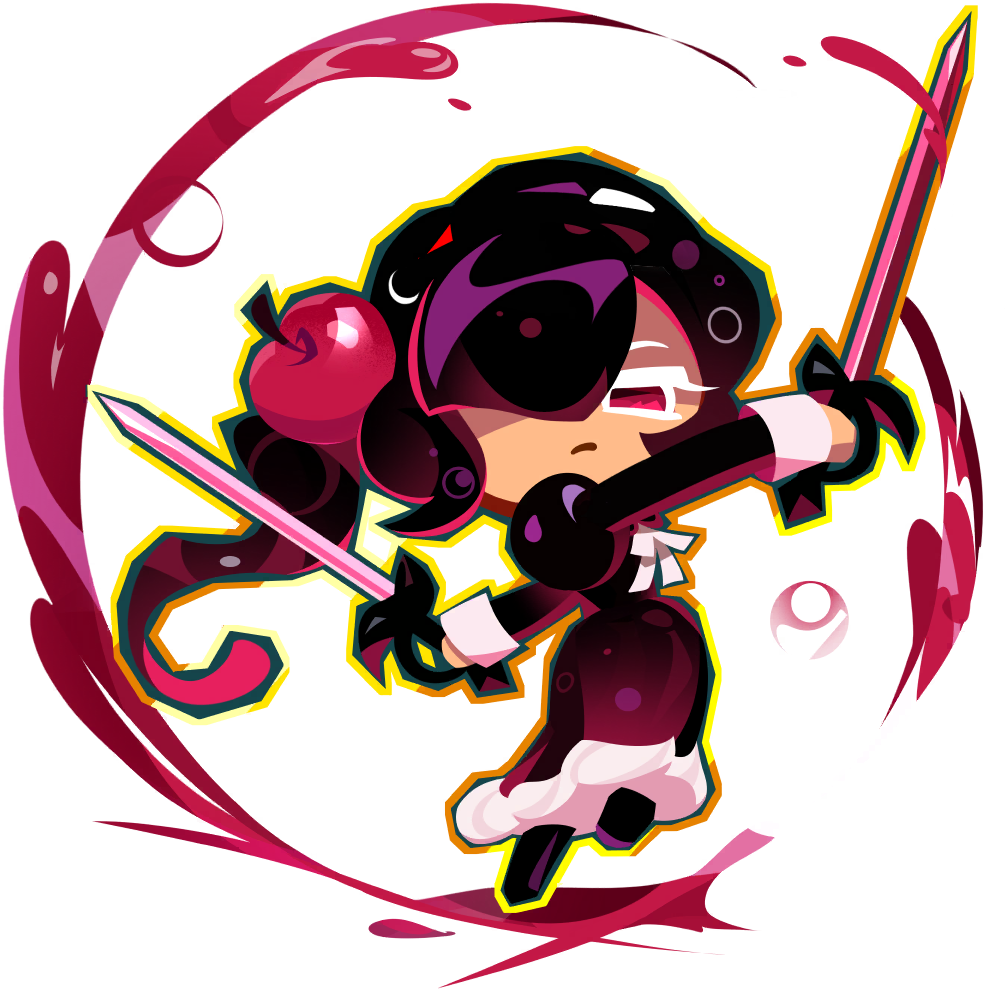 6
6 7
7
 8
8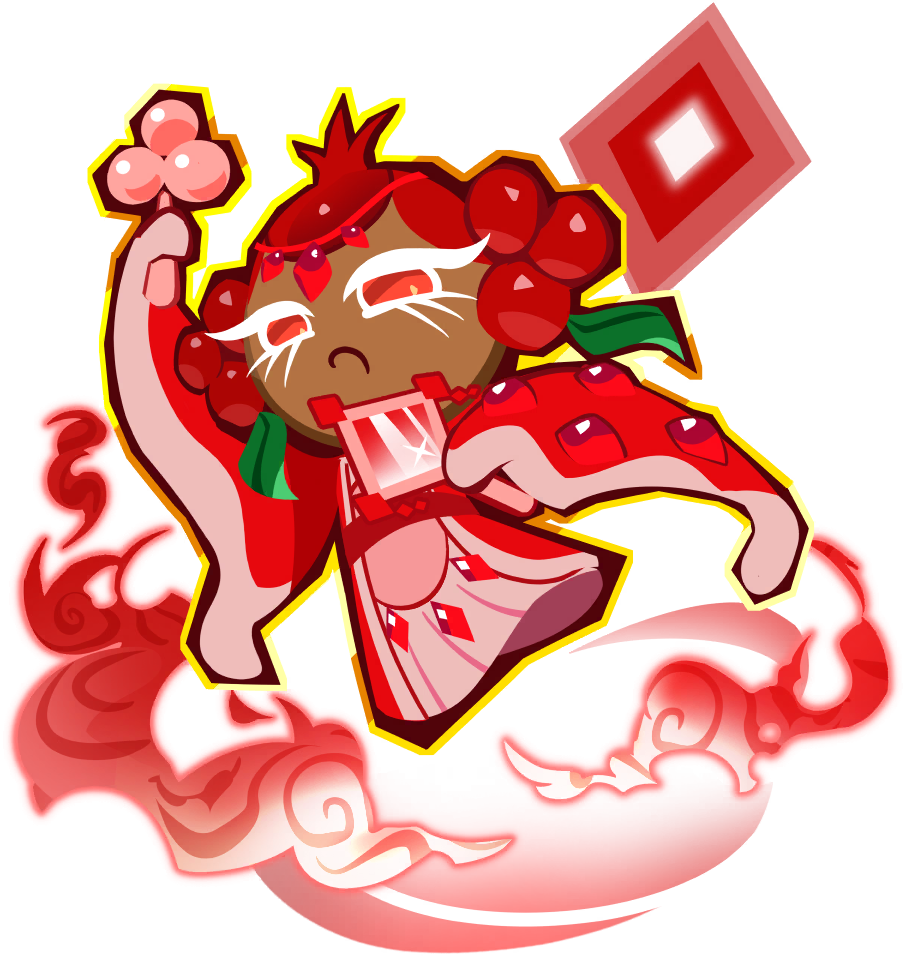 9
9 10
10
 11
11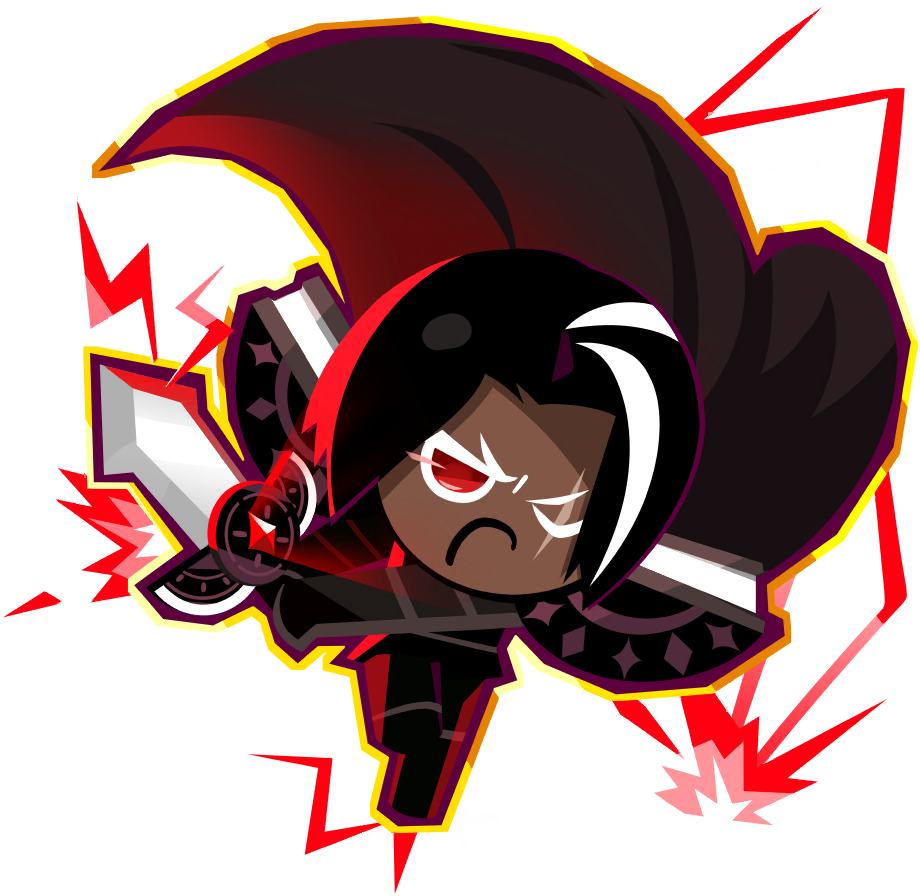 12
12

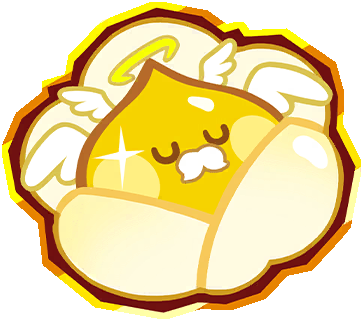


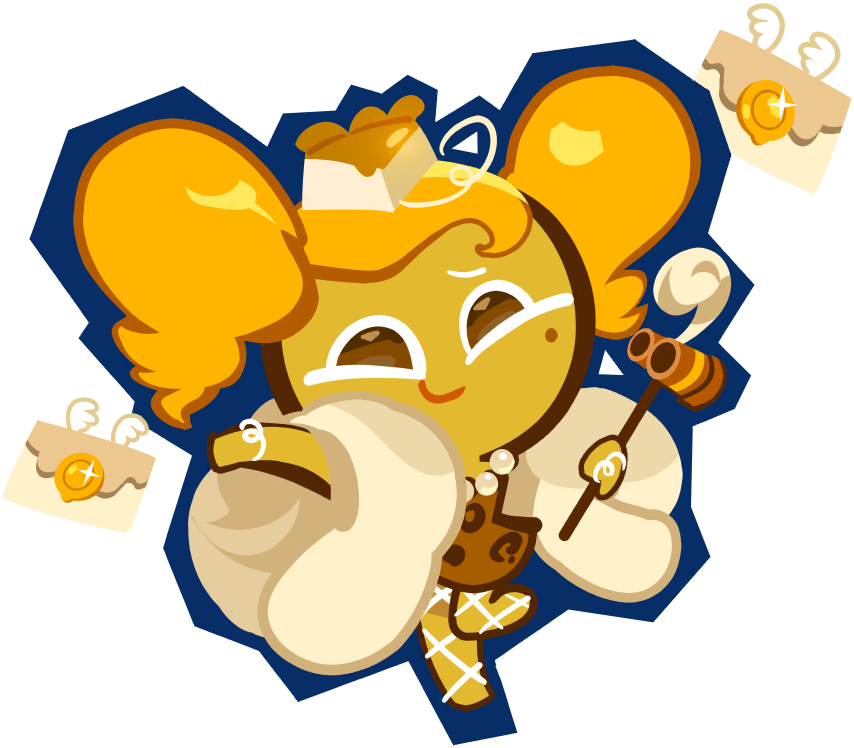
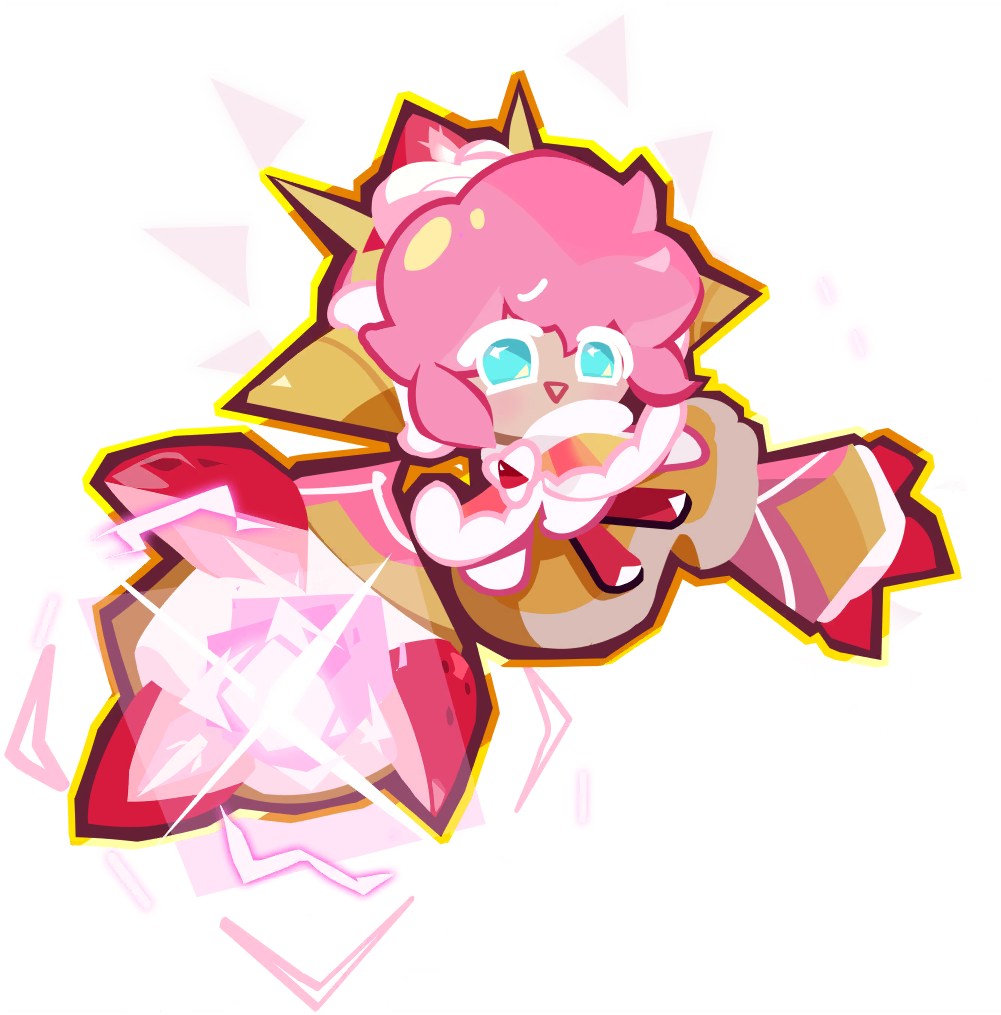
The first row contains Macaron, Scorpion, Cheesecake, Skating Queen, Milk Cookie's Crunchy Strong Pediatrician, and Cherry Cola. The second row contains Brightseeker, Pinot Noir, Pomegranate, Princess Bari, Strawberry Crepe, and Dark Choco.
The Pets are Hot Doggie, Chargemellow, and Holy Baby Drop, in that order. This loadout uses level 20 Pets. It keeps the offensive Pet package rather than reserving a slot for knock-up resistance.
Start here, then let a failed fight tell you whether to switch. If a boss repeatedly throws the group into the air, use the next preset. If the team stays on its feet but loses Cookies to damage, make a survival swap within this one.
Keep Cherry Cola when you can. For Bari's own Rune choices and the difference between story and Arena survival, use the Princess Bari build guide. This guide focuses on which whole team to bring, rather than prescribing a new Rune page for every encounter.
The anti-knock-up team and its Pet slot
The second preset uses Wind Archer, Ion Cookie Robot, and Herb. It does not include Bari or Cherry Cola. Copy it as its own formation instead of assuming it is the first team with one Pet changed.
Story Knock-up Resistance Team
Wind Archer, Ion, and Herb with Candy Shade Pouch for knock-up resistance.
 1234
1234 5
5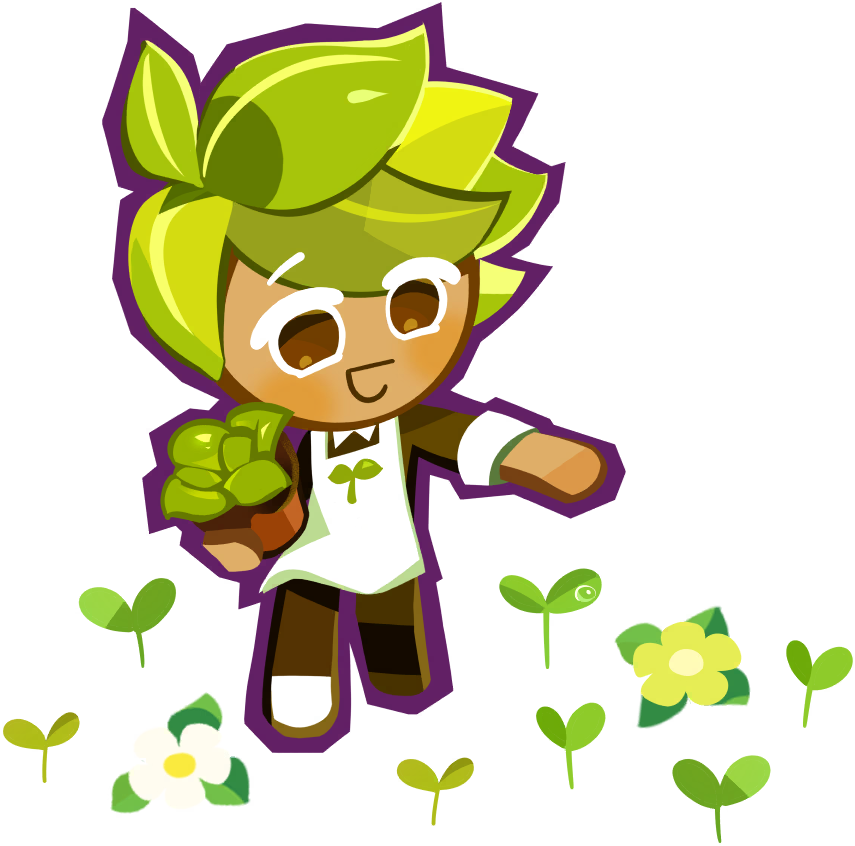 6789101112
The first row contains Wind Archer, Brightseeker, Pinot Noir, Skating Queen, Ion Cookie Robot, and Herb. The second row contains Macaron, Scorpion, Pomegranate, Milk Cookie's Crunchy Strong Pediatrician, Strawberry Crepe, and Dark Choco.
Use Candy Shade Pouch, Hot Doggie, and Holy Baby Drop. Candy Shade Pouch is level 12 in this preset; the other two Pets are level 20. The pouch is the round, red-and-green Pet, which makes it easy to distinguish from Panda Dumpling.
Use Candy Shade Pouch for the knock-up resistance job when you own it. Its resistance and extra HP make it worth trying even at level 1. If you do not own the pouch, keep Panda Dumpling as the fallback.
Against Cool Mint, try pulling the fight toward the seven o'clock or eleven o'clock corner instead of staying in open space. Think lower-left or upper-left on the arena. Get the group into position, then let it attack; repeatedly dragging everyone around can make it harder to judge whether the setup works.
Ion and Herb already occupy slots in this team. Do not try to add either again by removing Strawberry Crepe. If you need the simpler Crepe replacement rule, apply it to the default lineup, where those Cookies are absent.
GingerCraven: check Power before adding more protection
This third preset keeps Bari, adds Herb, and uses Wind Archer. It leaves out Cherry Cola and Strawberry Crepe. Wind Archer is here for accounts that gain useful Power from including him.
Bari and Wind Archer GingerCraven Team
Bari and Herb stay. Use Wind Archer when his investment helps close the Power gap.
123456789101112The first row contains Wind Archer, Brightseeker, Pinot Noir, Pomegranate, Princess Bari, and Herb. The second row contains Macaron, Scorpion, Cheesecake, Skating Queen, Milk Cookie's Crunchy Strong Pediatrician, and Dark Choco.
The Pet order is Holy Baby Drop, Hot Doggie, and Chargemellow. All three are level 20 in this setup.
Wind Archer's slot answers a specific problem: the team survives, but damage hardly lands. If your Wind Archer raises the formation's Power enough to help, he can earn that place even when you rarely use him elsewhere. Cherry Cola can take his slot instead. Compare the result on your account; a poorly developed Wind Archer is not automatically the stronger choice.
The stage Power and damage guide explains why an apparently sensible team can still struggle below a stage's recommended strength. Check that gap before spending another evening rearranging supports.
GingerBright needs the same context. His ATK Down can help beginners survive, but keeping him by habit can cost a developed team Power and damage. Once incoming hits are manageable, the extra protection may no longer justify that trade. Use him while his ATK Down keeps you alive. Reconsider the slot once you can survive without it.
Fix survival without replacing the whole roster
In the default Bari and Cherry Cola formation, replace Strawberry Crepe with Ion Cookie Robot if the team needs a shield. Try Herb in that slot if another healer would help the group recover. Start with one change and repeat the same stage.
Watch who dies and when. A Cookie that falls before the supports act needs a different answer from a team that survives most of the fight but slowly runs out of healing. Keep Cherry Cola while testing these support changes, rather than removing an attacker and a protector together.
Story difficulty reductions also change how much defense a developed account needs. If the hits no longer threaten the team, an old survival-heavy preset can become unnecessarily slow. Restore damage when the defensive slot has finished its job.
Use the Cookie tier list to compare longer-term investments, but judge a substitution in the fight where you need it. A high-ranked Cookie with weak promotion can still lower the useful strength of your current formation. Check whether the replacement solves the problem that stopped your last run.
Redberry: stop chasing and use the stairs
Redberry is the awkward exception to the default progression team. Close contact can trigger another teleport, leaving your attackers chasing instead of finishing the enemy. More retries with the same approach can repeat the same problem.
Remove Princess Bari and Cherry Cola, then add Tiger Lily and Cool Mint. Treat this as a separate Redberry adjustment; the three complete presets above cover the broader story plan. Watch whether the replacement changes the enemy's movement before judging only the final damage total.
Move toward six or seven o'clock from the opening, as though you are retreating. The useful landmark is the staircase toward the bottom of the arena. Stop just below the stairs with the enemies above them. Do not continue all the way to the bottom edge of the map.
Start fighting from that arrangement. The clock direction gets you into the right area, while the staircase tells you where to stop. If the first attempt looks wrong, adjust where you halt rather than changing several Cookies and the route at once. It may take a couple of attempts to stop in the right place.
Keep the next retry useful
Before you spend, name the failure. If the formation stays airborne, try the resistance preset. If allies die, test the appropriate shield or healing slot. If everybody survives while the boss barely loses health, inspect Power and damage. If Redberry keeps escaping, change the approach and stopping point.
Save a successful version before moving on. You can keep the ordinary team ready for the next stretch of stages and return to a boss preset only when its mechanic appears again. That saves more effort than rebuilding all twelve slots from memory after every roadblock.
Story team FAQ
Which team should I try first?
Start with the Bari and Cherry Cola preset for routine story stages. Switch when a specific failure gives you a reason: repeated knock-ups, a GingerCraven damage problem, or Redberry teleporting away from close-range attackers.
Should I level Candy Shade Pouch before using it?
Try it in the anti-knock-up slot as soon as you have it. The recommendation favors its resistance and HP contribution even at low level. Keep Panda Dumpling as the fallback when you do not own the pouch.
Is Wind Archer required for GingerCraven?
No. His role in this preset is to help an account raise Power when damage barely lands. Cherry Cola can replace him. Choose the version that works with your promotion and equipment instead of forcing an underbuilt Wind Archer into the team.
Where should I stop when pulling Redberry south?
Stop just below the southern staircase while the enemies remain above it. Head toward six or seven o'clock from the start, but do not retreat all the way to the arena's bottom edge.