

If your Arena team keeps dying despite several healers, check whether Pinot Noir is cutting their recovery. Another healing slot may add little against that debuff, especially when it leaves fewer attackers to finish the fight.
Start by checking overlapping buffs and healing reduction. The support effects that help your attackers still have a job. A spare healing slot is where a shield or control Cookie may buy more time.
The lineup below keeps Herb and Milk. It is a practical starting point for moving toward a more aggressive team, with the full Cookie and Pet order intact. If your Herb still saves fights, you do not need to remove him to follow an Arena trend.
Copy the full lineup before changing slots
This Strawberry Crepe Rapid AoE team mixes damage with a familiar support group. Read the rows from left to right: slots 1 through 6 on top, then 7 through 12 below.
Strawberry Crepe Rapid AoE Team
This damage-focused baseline keeps Herb and Milk for recovery. Test the shield and control swaps below only after checking how the full formation performs.


 1
1

 2
2
 3
3
 4
4
 5
5 6
6
 7
7 8
8 9
9 10
10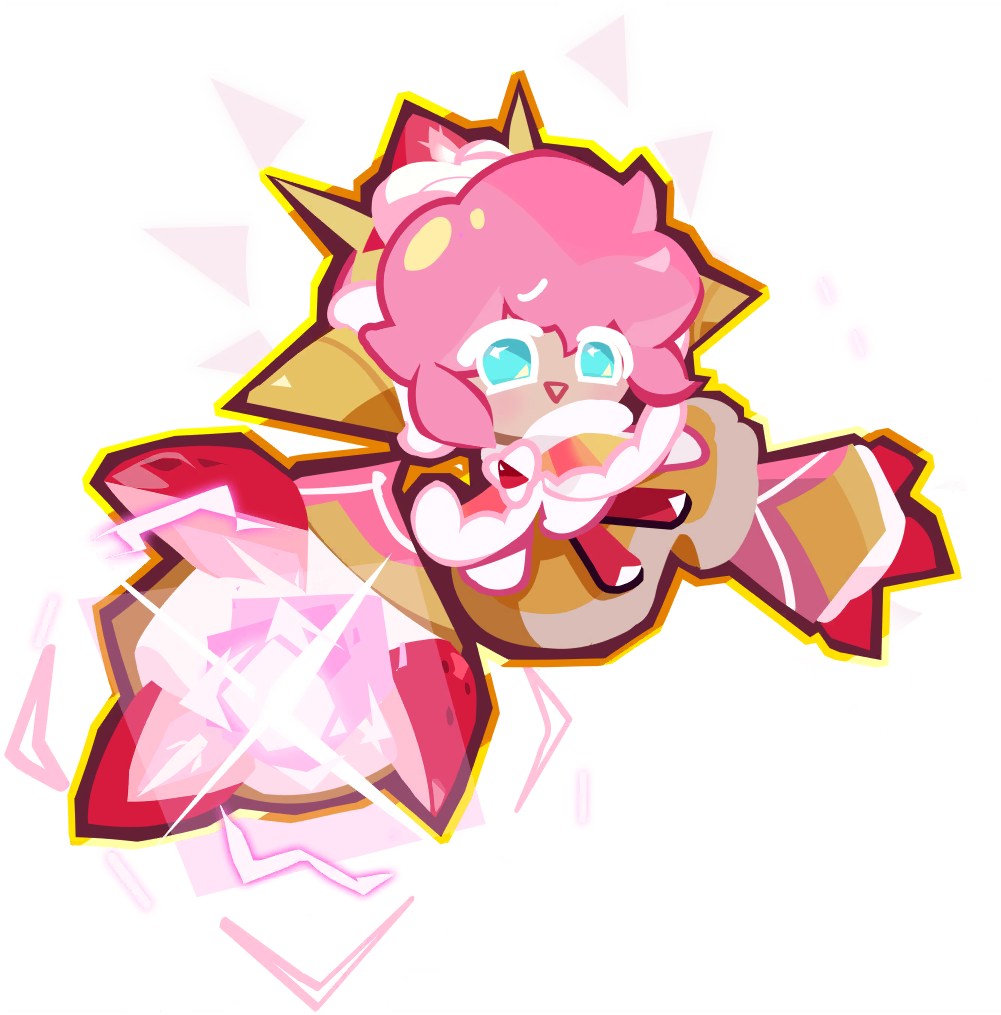 11
11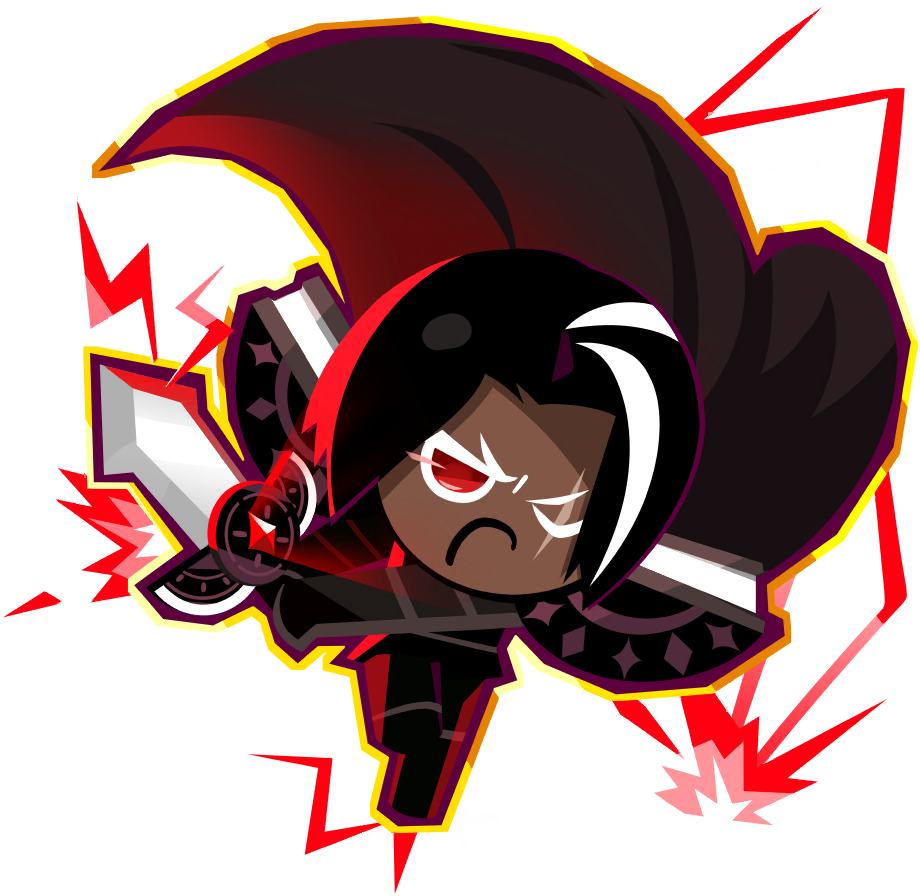 12
12
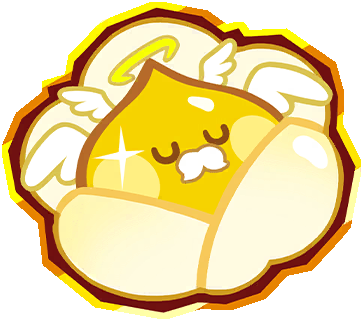
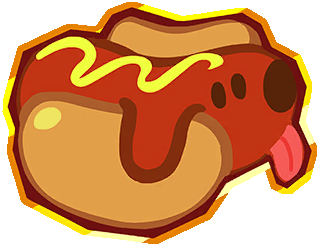


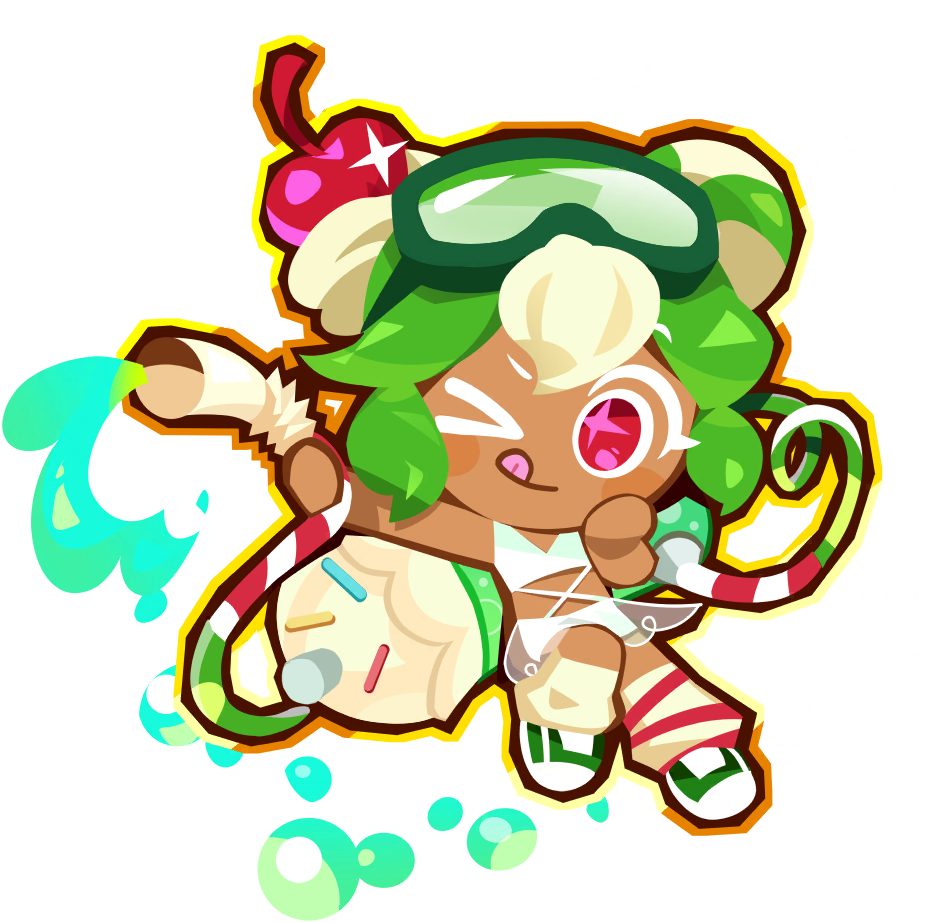
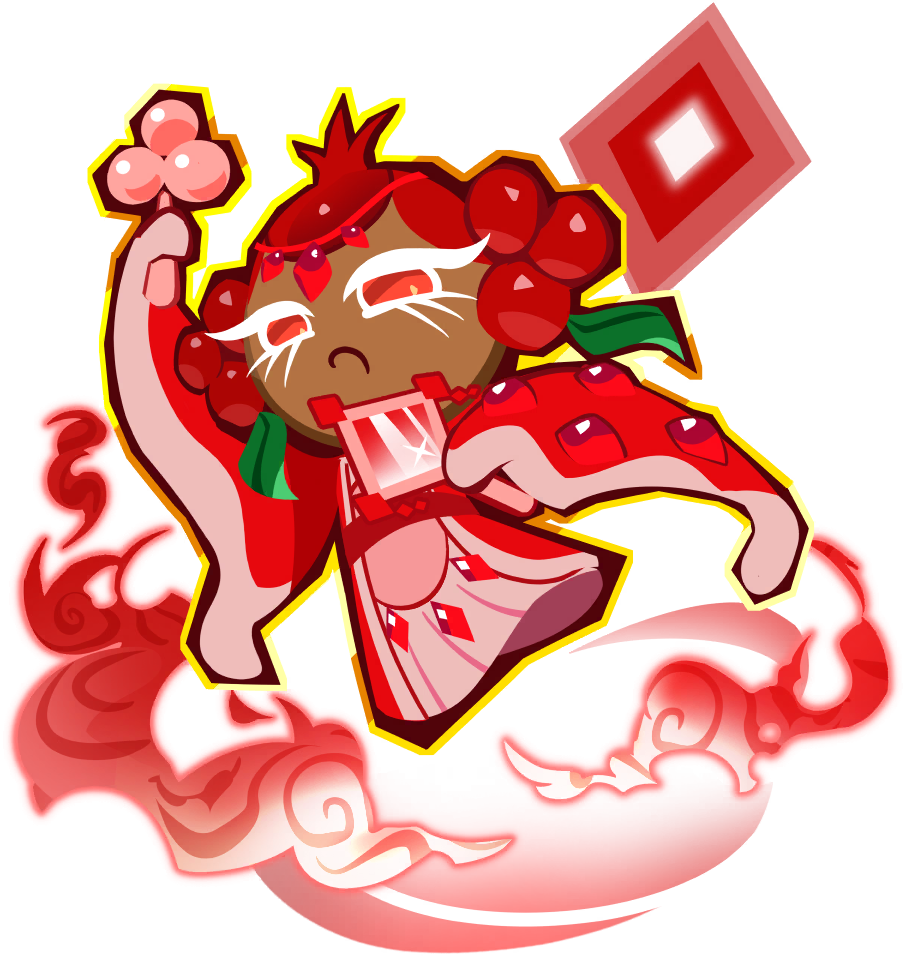
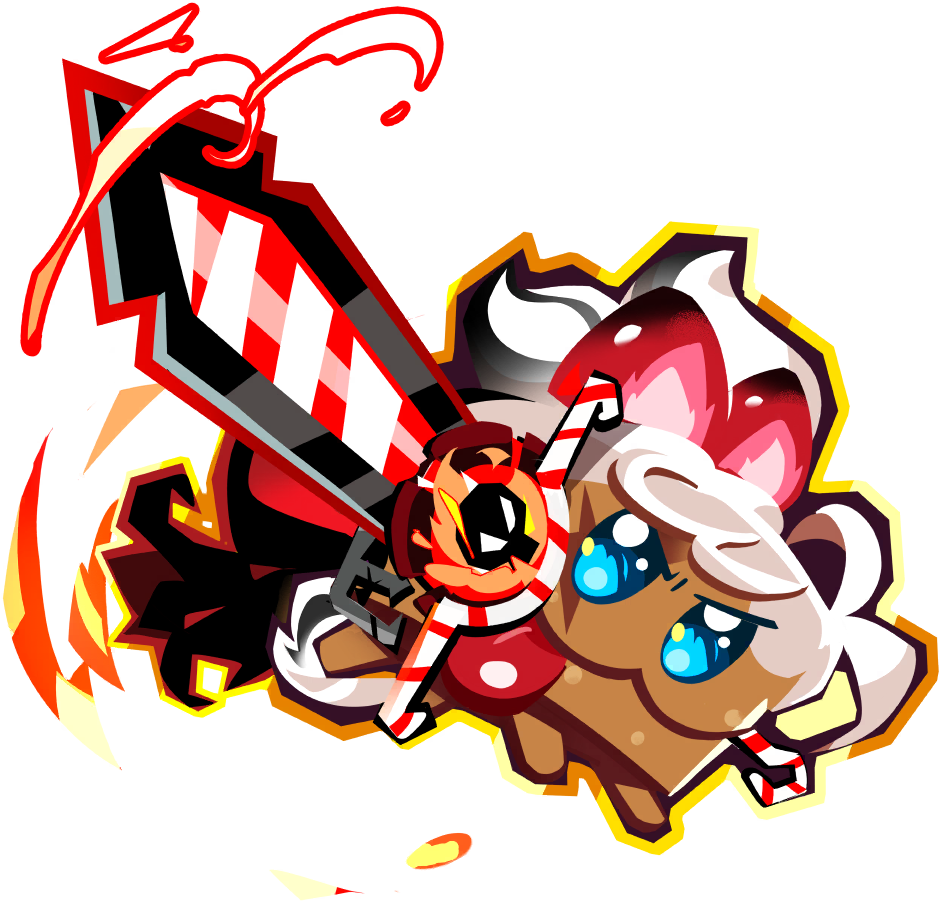
The top row is Macaron, Scorpion, Melon Soda, Pomegranate, Nameless Cake Hound, and Herb. The bottom row is Brightseeker, Rye, Pinot Noir, Milk Cookie's Crunchy Strong Pediatrician, Strawberry Crepe, and Dark Choco.
Use Chargemellow, Holy Baby Drop, and Hot Doggie in that order. The example has 129.33M displayed Power, with Pet levels 13, 15, and 15. Those numbers describe one account, not an entry requirement or a promise of wins.
Herb occupies slot 6, so this is not a no-healer lineup. Milk also heals while supplying ATK support. The formation gives you a clear baseline: keep its damage package, then decide how much recovery your Arena opponents allow.
You can find this exact ordered lineup on the Teams page. Save the original setup before testing replacements so you can compare results without rebuilding it from memory.
Why stacking healers can lose the damage race
Pinot Noir's Healing Received Down changes the value of recovery in Arena. A team can have several healing skills available and still fail to refill health fast enough. That makes a spare healer slot harder to justify when it could provide damage, shielding, or crowd control.
Buff overlap adds another problem. Milk and Cheesecake do not provide two fully stacked versions of the same ATK buff. The stronger applicable buff takes over. Once Milk's buff exceeds Cheesecake's, keeping both purely to multiply healing gives you less than the lineup suggests.
Macaron creates a similar reason to check duplicate CRIT buffs. Compare the specific effects, their strength, and what else each Cookie contributes. Two support portraits do not automatically mean two independent layers of the same stat.
This does not mean every buff conflicts, or that a support becomes useless when one effect overlaps. Synergies and other abilities can still justify the slot. The mistake is counting the same benefit twice when choosing all twelve Cookies.
Against a healing-heavy opponent, Pinot Noir helps your damage stick. Against a team that barely heals, the heal cut has less work to do. His repeated-hit support and knock-up resistance can still matter, but the matchup changes why you bring him.
Keep Pinot Noir's damage partners working
Pinot Noir supplies the Multi-strike synergy that supports repeated-hit attackers. Strawberry Crepe, Rye, and Melon Soda benefit from that package in the displayed formation. Cutting Pinot to squeeze in another healer can weaken several damage slots at once.
Grapevine also supplies Multi-strike, so she needs a clearer reason to join a team that already uses Pinot. Her healing may still help a particular account, but she no longer fills an otherwise empty synergy role. Check that contribution before replacing an attacker with her.
Strawberry Crepe needs the team around them to keep the damage cycle moving. A Defense label does not mean you should expect a conventional tank. The Strawberry Crepe build guide covers the damage setup behind this formation.
Brightseeker and Scorpion add more pressure, while the support group keeps the attacks useful. Preserve that relationship when swapping. Removing the first Cookie with low personal damage can cost more team damage than replacing an underperforming attacker.
Test Rockstar when healing cannot keep up
Rockstar offers a different way to survive. His shield scales with his maximum HP, and healing reduction does not cut a shield in the same way it cuts a heal. That makes him worth testing when health bars collapse despite repeated healing casts.
The HP scaling also means Rockstar's shield does not depend on stacking Milk and Cheesecake's ATK buffs. You still need enough protection to survive the enemy burst, but you are solving that problem with a different defensive effect.
For the displayed lineup, one sensible experiment is Herb out and Rockstar in. Treat this as a suggested swap, not a second fixed lineup. Keep the other eleven Cookies and the Pets unchanged for the first comparison.
Nameless Cake Hound already gives the baseline a damage-reduction option. Avoid removing that protection at the same time you remove Herb. Otherwise, a failed run will not tell you whether you needed more healing or simply stripped away too much defense.
A shield is not proof that you can ignore survival stats. If Rockstar or an attacker dies before contributing, the experiment needs more work. Look at the opening sequence rather than assuming all shield-based teams beat all healing teams.
Use control when another attacker adds little
Aggressive Arena teams still need time to act. Stuns and knockback can delay an enemy skill or interrupt pressure long enough for your own damage to finish a target. That can make a control slot useful even when its personal damage looks poor.
Milky Way is an option when you want knockback alongside wider damage. Other control Cookies can fit too, but check their promotion and whether they survive in your matches. Do not copy a leaderboard slot without checking what your own version can do.
If Strawberry Crepe contributes little before the team collapses, test a control replacement rather than automatically adding more healing. If Crepe is carrying the damage, keep them and review a different slot.
Wind Archer is another possible damage choice once your copy has enough investment. Five stars is a reasonable point to revisit that swap in this approach. It is not a guarantee that Wind Archer improves every account. Compare the whole team result, including any protection you gave up to fit him.
Use the CookieRun: Crumble Tier List to narrow down investment choices, then let the fights decide the slot. A high rank cannot compensate for a Cookie that never gets a useful cast.
Choose Pets for the failure you can see
Holy Baby Drop provides ATK support, which helps the attackers and the healing or buffs that scale with ATK. It remains useful even when you reduce dedicated healing slots.
Hot Doggie adds Skill Amp. That makes it a useful partner for a lineup with several active damage skills, but it does not make every effect scale identically. Read the effect you are trying to improve.
Chargemellow supports the rapid repeated attacks in this setup. Keep it for the first test with Strawberry Crepe, Rye, and Melon Soda. If you replace one of those attackers, revisit how much the remaining lineup gets from Chargemellow.
A defensive Pet becomes worth testing when you deal enough damage but lose the opening exchange. Start by comparing that option against the third Pet rather than rebuilding all three slots.
Pet choices should follow the actual lineup. There is no need to buy a premium alternative simply because another account uses it. Better promotion, different attackers, or a more fragile front line can change which option helps.
Read the result before removing Herb
Healing totals can mislead you. A team that takes more damage has more missing health to restore. A team that dies quickly also has less time to heal. Compare survival and the final outcome alongside the recovery numbers.
Healing reduction may also fail to land or meet resistance. If Herb suddenly restores a large amount, do not assume the strategy stopped working. Check whether the debuff applied and how long the healer stayed alive.
Herb is still a reasonable choice when you want one dedicated healer. Keep him when his recovery buys another useful attack cycle. Drop him when repeated attempts show that a shield or control effect gives your damage dealers more time.
For a fragile Cookie that falls before casting, levels can help with HP and DEF. The level-100 EXP priority guide explains why Arena investment should follow the teammate who dies first after you cover Milk and your carries.
Save a second preset for experiments. Try one replacement against comparable opponents, review the opening deaths, and keep the version that performs better. You do not need to dismantle a working team just because another account wins with less healing.
Arena healing reduction FAQ
Is this lineup a no-healer team?
No. The displayed formation contains Herb and Milk. It is a damage-focused baseline that keeps recovery, with suggested swaps for players who want to test less healing.
Should I remove Herb when I use Pinot Noir?
Not automatically. Keep Herb if his healing helps your attackers survive another skill cycle. Test Rockstar or a control Cookie when healing reduction makes that slot less useful.
Does Rockstar's shield avoid healing reduction?
Healing reduction does not reduce shields in the same way it reduces healing. Rockstar's shield scales with his maximum HP, but the team still needs enough durability to survive incoming damage.
Should Milk and Cheesecake share an Arena team?
Do not pair them solely to stack the same ATK buff. The stronger applicable buff takes over. Keep both only when their other contributions justify the two slots.